
We describe the installation and initial setup method for using Unity, which is a 3D development platform. (Windows / Mac)
In addition, we also describe how to set up a build environment for games and apps for Android.
Installing Unity Hub and Unity
- Install Unity Hub first.
- It can install and manage multiple versions of Unity and modules. In addition, it can also manage projects.
- Basically, follow the procedure on the official page below.
- Then install Unity.
- Basically, follow the procedure on the official page below.
- However, be careful when selecting “License Management” and “License agreement”. The functional differences of the plan are as follows.
- The “Personal” plan is free to use, so we would like you to choose it as much as possible, but the qualification is for individuals or small and medium-sized enterprises. This means it’s available if your revenue or funding doesn’t exceed $ 100,000 a year for the last 12 months. Therefore, the only users who can select “Individual” in “License Management” are those who are “Less than $ 100,000” in “License Agreement”.
Setting Android application development / build environment by Unity
Unity can be used by the procedure so far. However, if you want to develop and release games, apps, etc. for a specific platform using Unity, additional steps are required.
As an example, we describe the procedure for building an environment that can build games and apps for terminals running Android OS such as smartphones using Unity.
Previously, you had to install Android Studio and work with Unity. However, it is now possible to install the Android SDK and NDK from Unity Hub, making it possible to easily prepare a development and build environment for Android applications. The procedure is as follows.
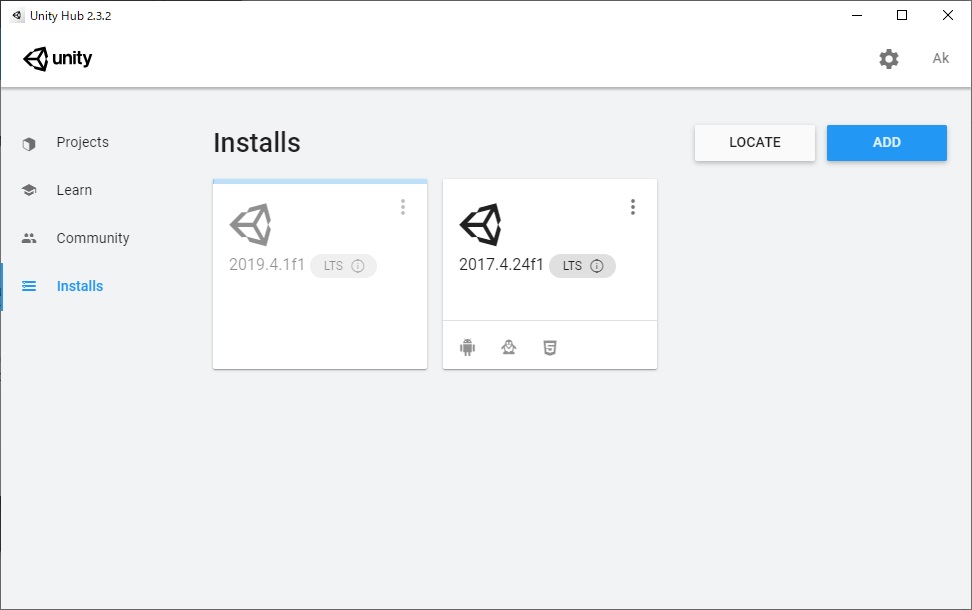
- Start Unity Hub.
- Click “Installs” from the left menu.
Source : Unity Hub
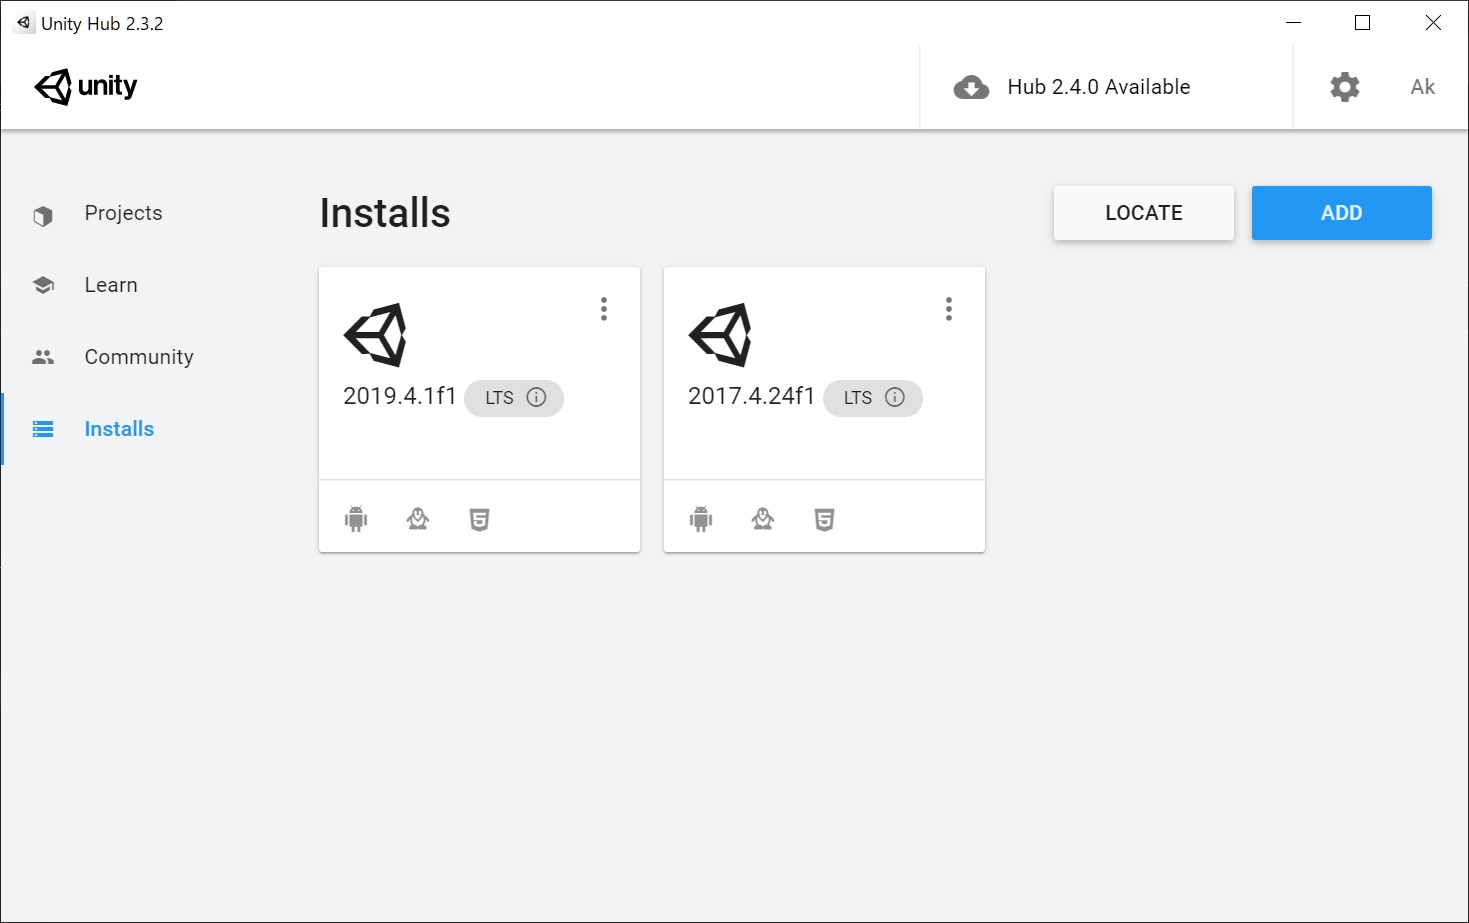
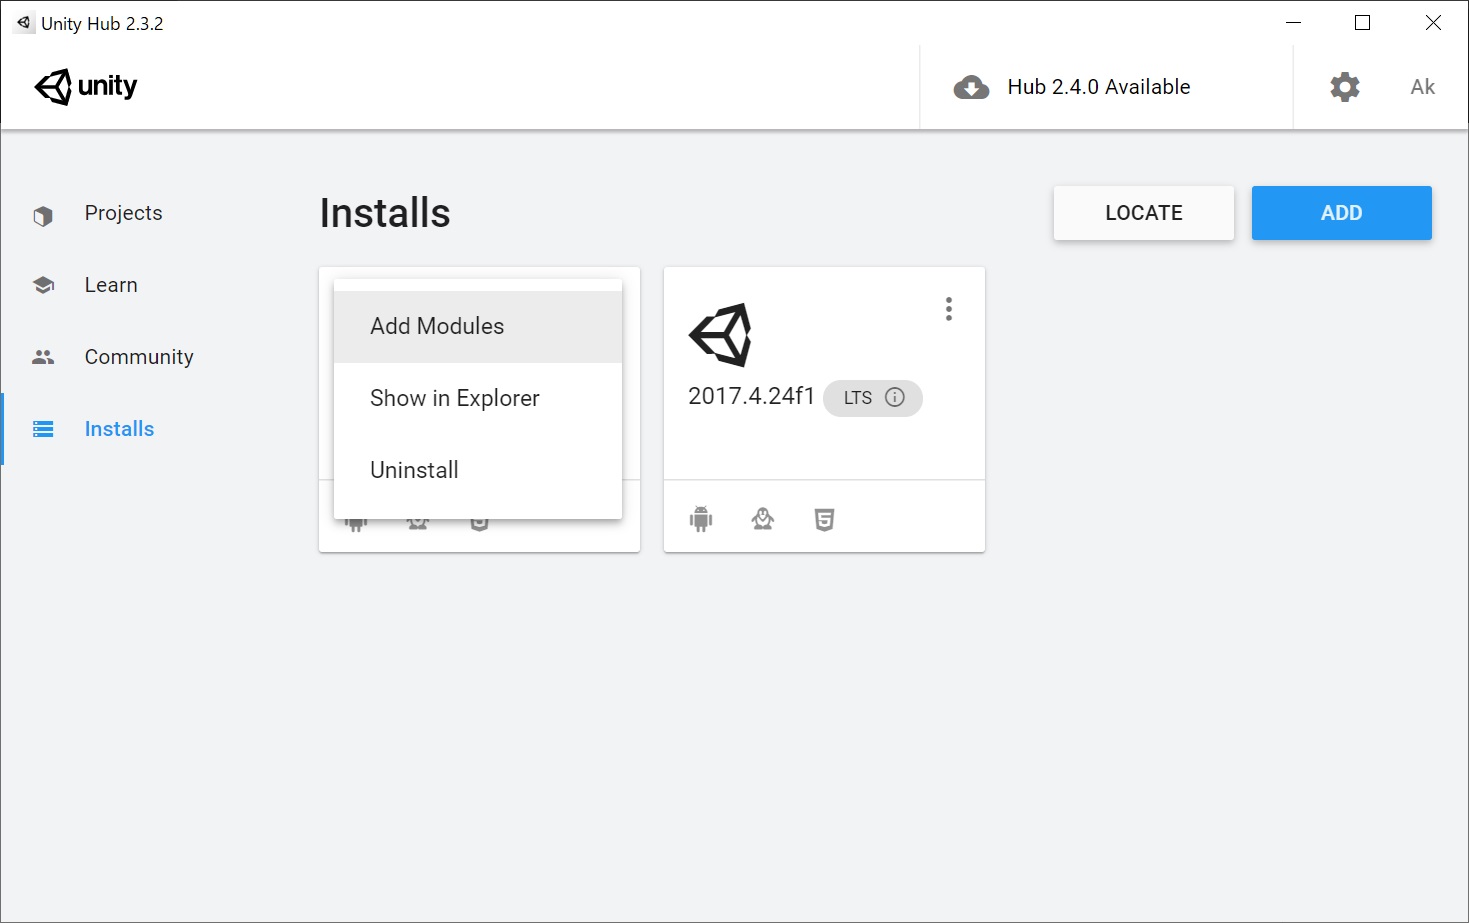
- Click the 3-point reader on the upper right of the Unity version to which you want to add the Android build environment.
- Click “Add Modules”.
Source : Unity Hub
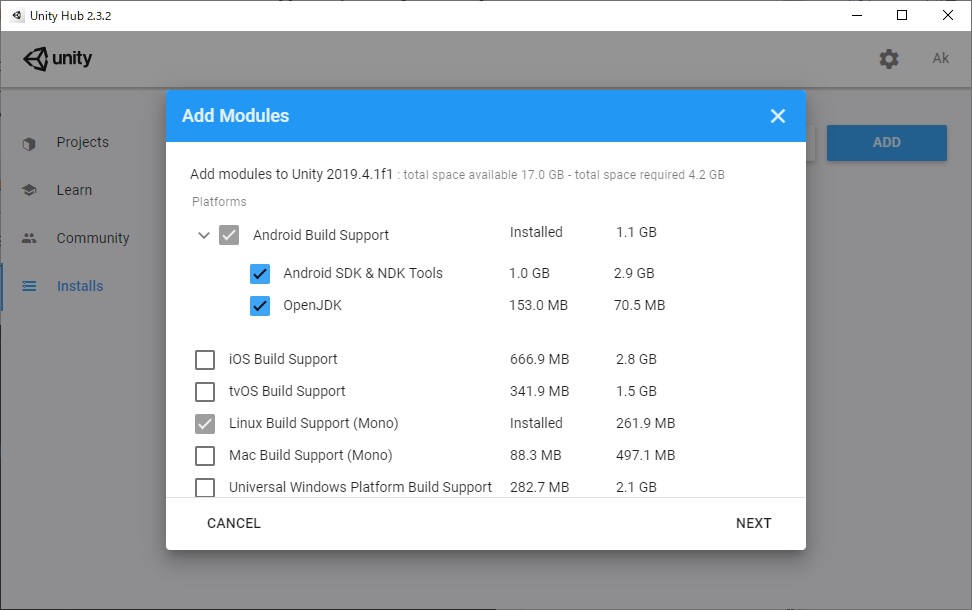
- The following screen is displayed.
- Check “Android Build Support”, “Android SDK & NDK Tools”, “OpenJDK” and click “NEXT” at the bottom right of the screen.
Source : Unity Hub
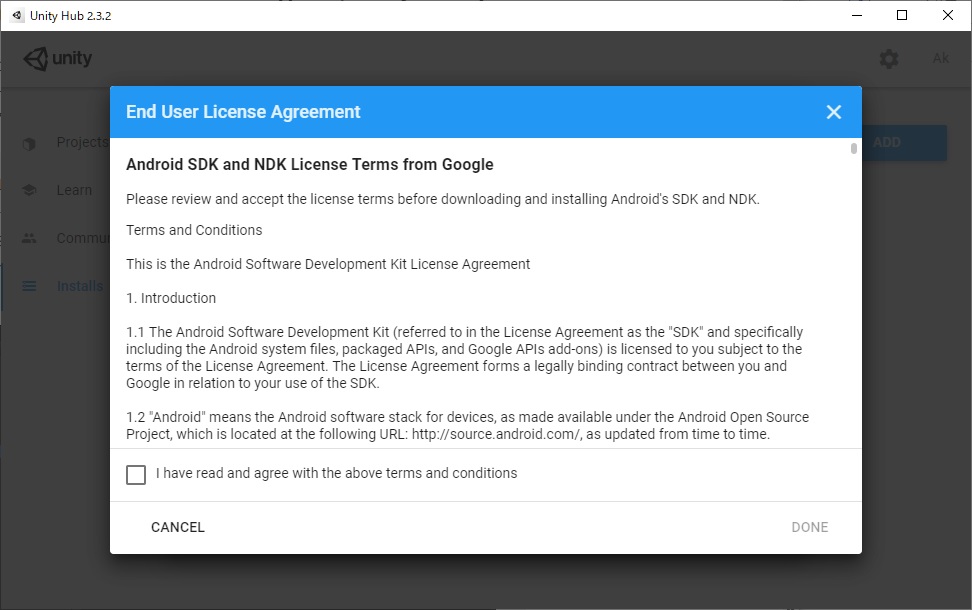
- Check License Terms, check “I have read and agree with the above terms and conditions”, and click “DONE”.
Source : Unity Hub
- The installation will start, so wait until it is completed.
Source : Unity Hub
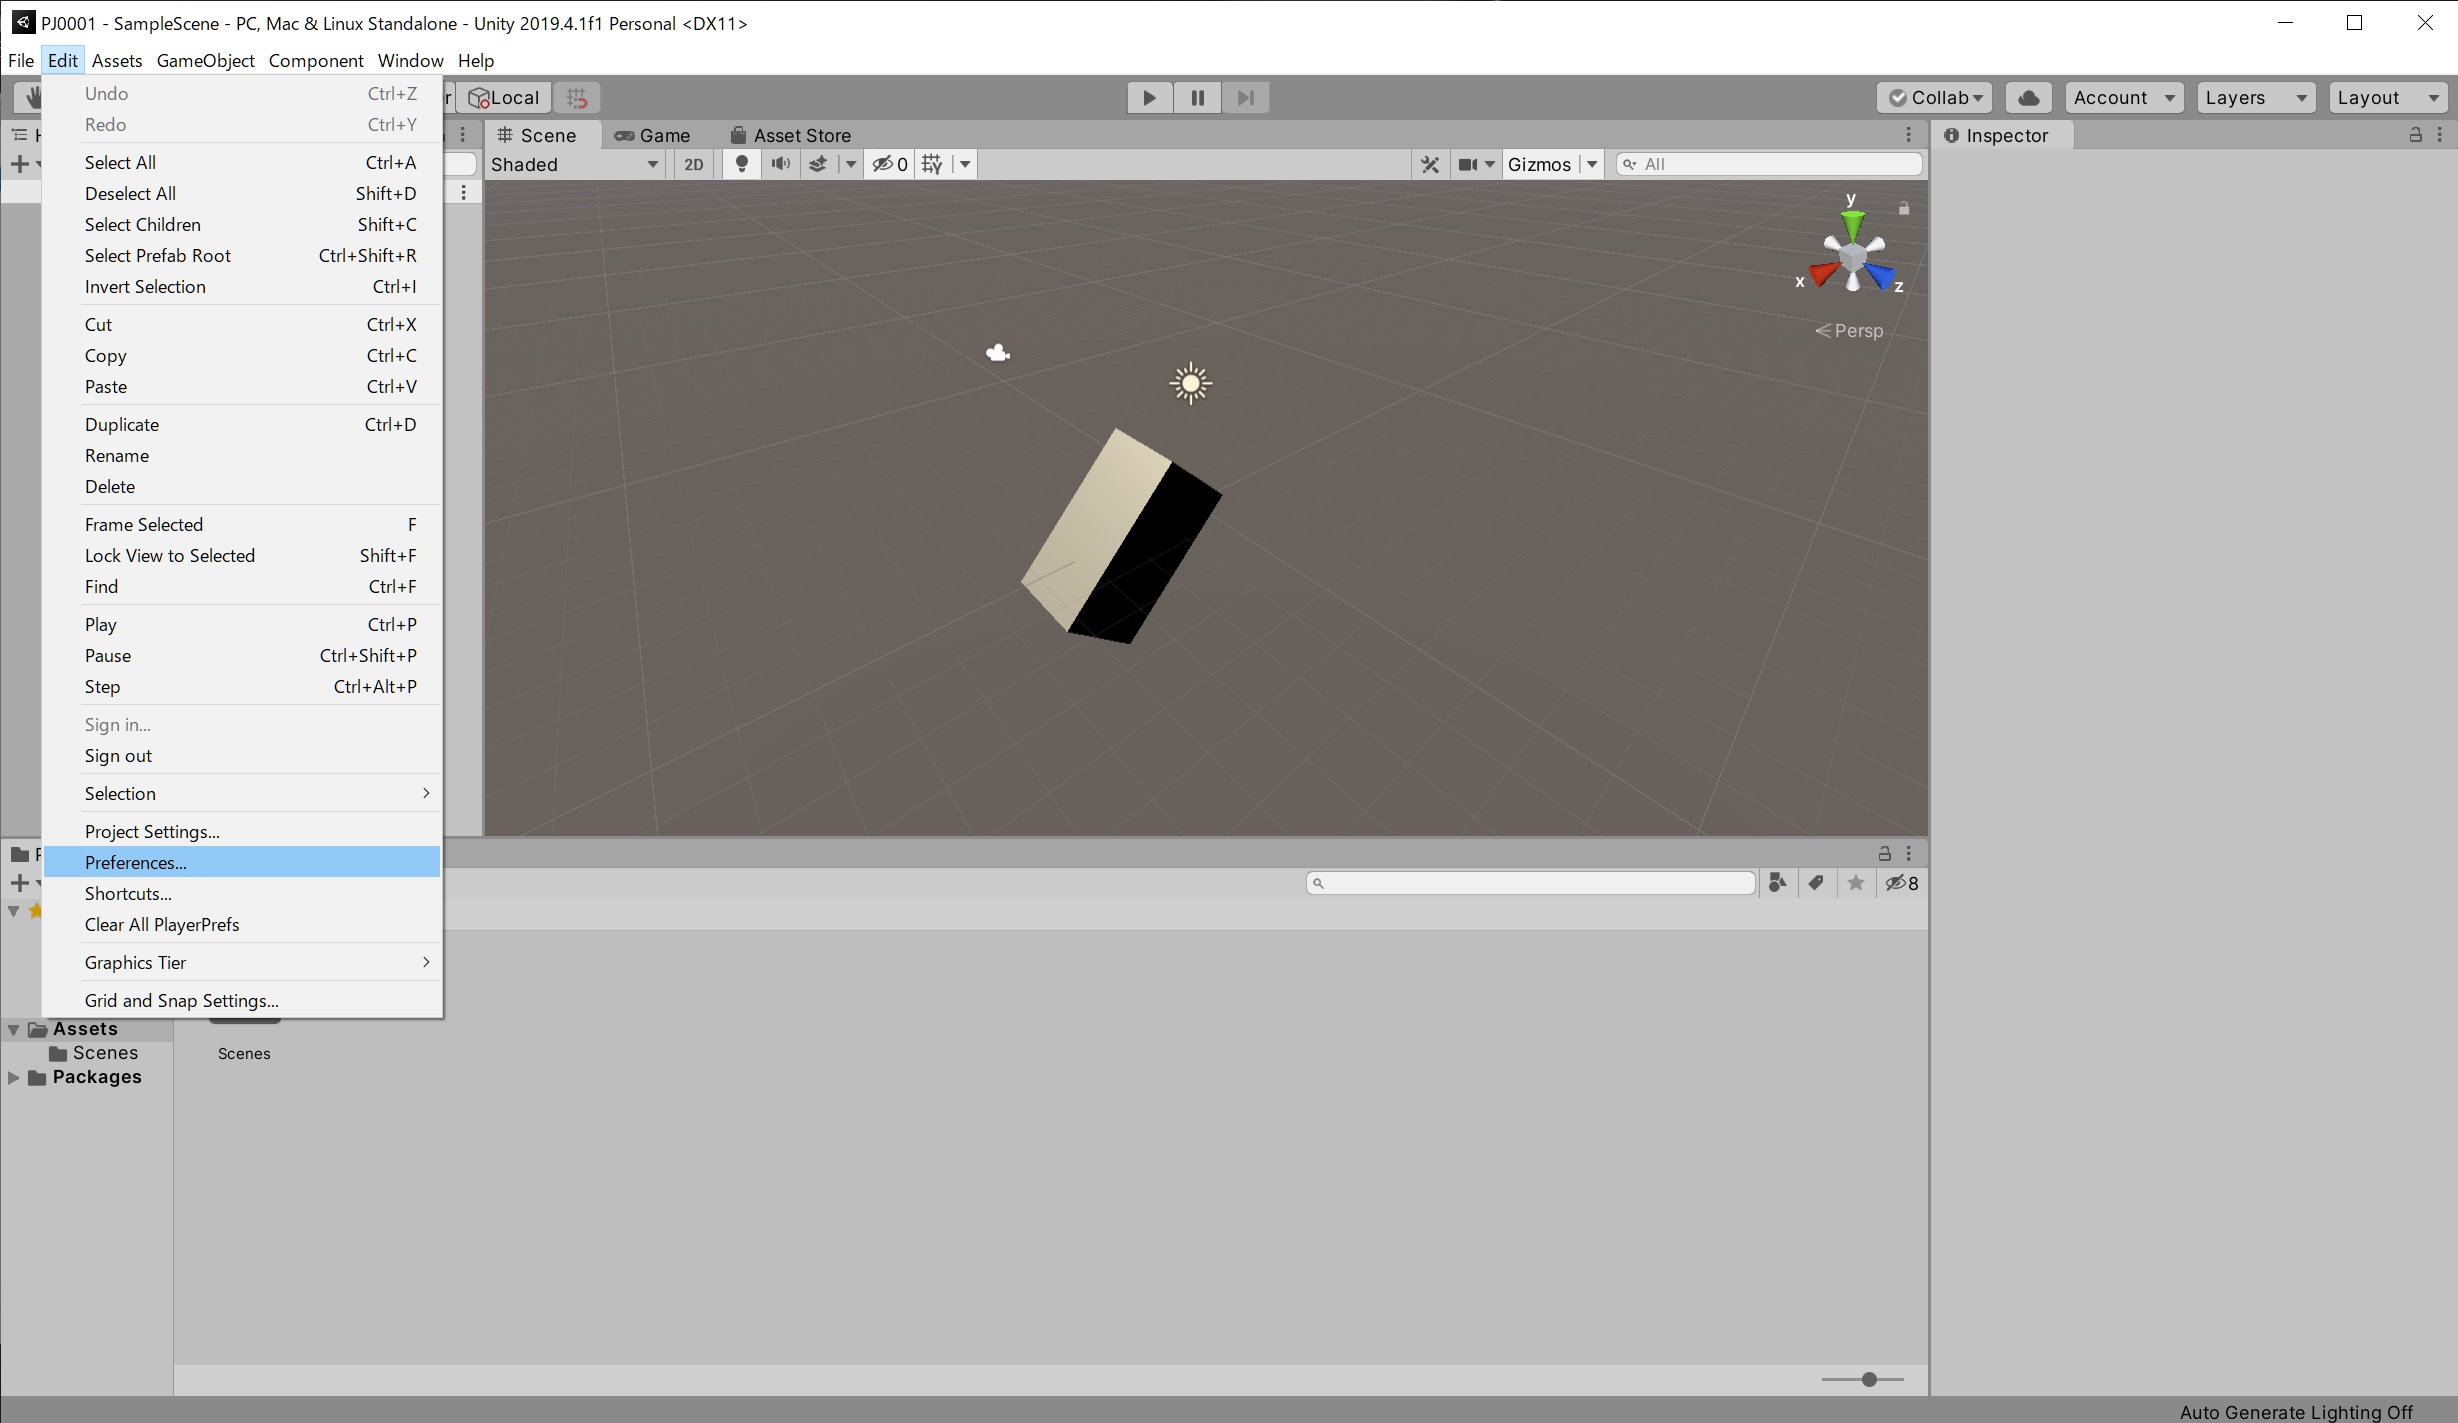
- Start Unity and click “Preferences …” in the “Edit” menu.
Source : Unity
- The “Preferences” window opens. Click the “External Tools” menu.
- Check that “Android SDK Tools installed with Unity (recommended)” or “Android NDK installed with Unity (recommended)” is selected and the file path is entered.
Source : Unity

- Completed.