
Sharing a Docker container image with multiple people can be done smoothly by using the Docker container registry.
The most famous Docker container registry is Docker Hub provided by “Docker, Inc.”. However, Docker Hub’s free plan has the restriction that Docker images that haven’t been used for 6 months will be deleted. In addition, it has only one private repository available.
Therefore, using GitLab instead of Docker Hub is also a good option. It is a service that can be used free of charge without major restrictions.
GitLab is a Git remote repository service like GitHub provided by “GitLab Inc.”. However, this service also has a container registry function like Docker Hub.
This knowledge describes how to use GitLab’s private Docker container registry.
How to create a private Docker container repository on GitLab
- Access GitLab.
- Click “Sign in” at the top right of the screen to log in.
- If you have not created an account yet, click “Get free trial”.
Source : GitLab
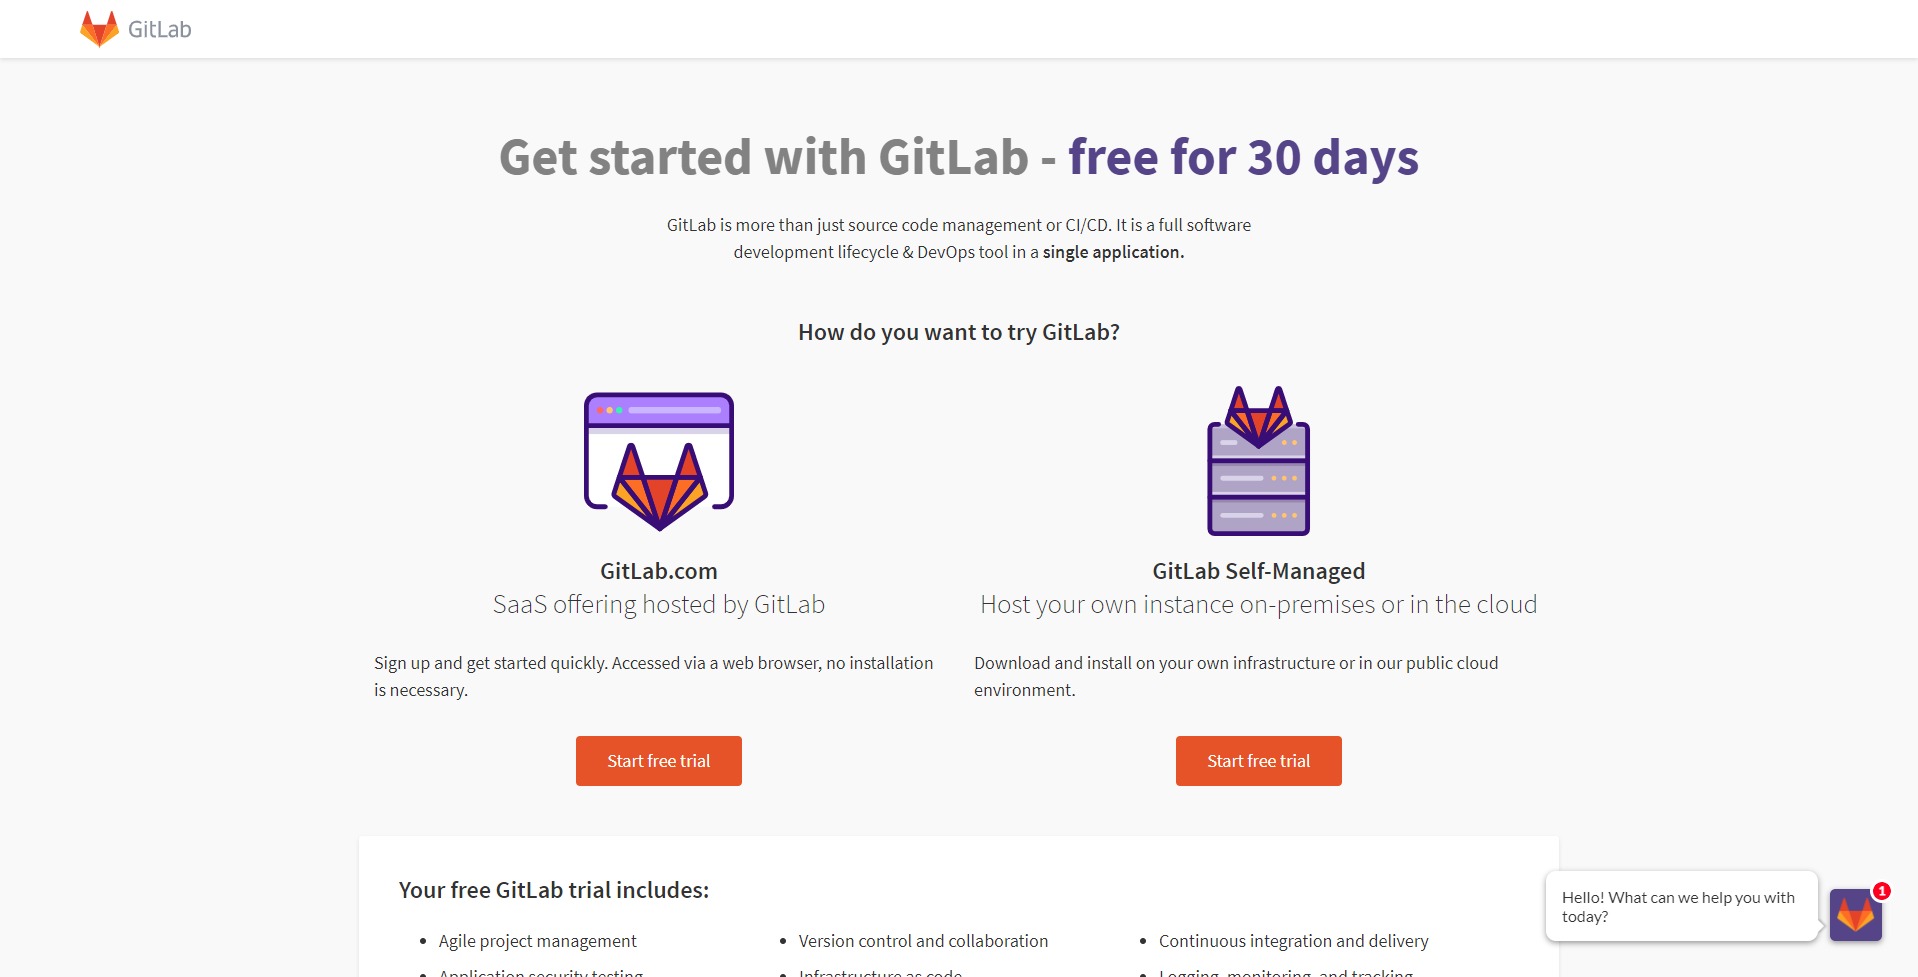
- If you want to create a new account, click “Start free trial” on “GitLab.com” on the left side of the screen to create a new account.
- If you have already created an account, skip this step.
Source : GitLab
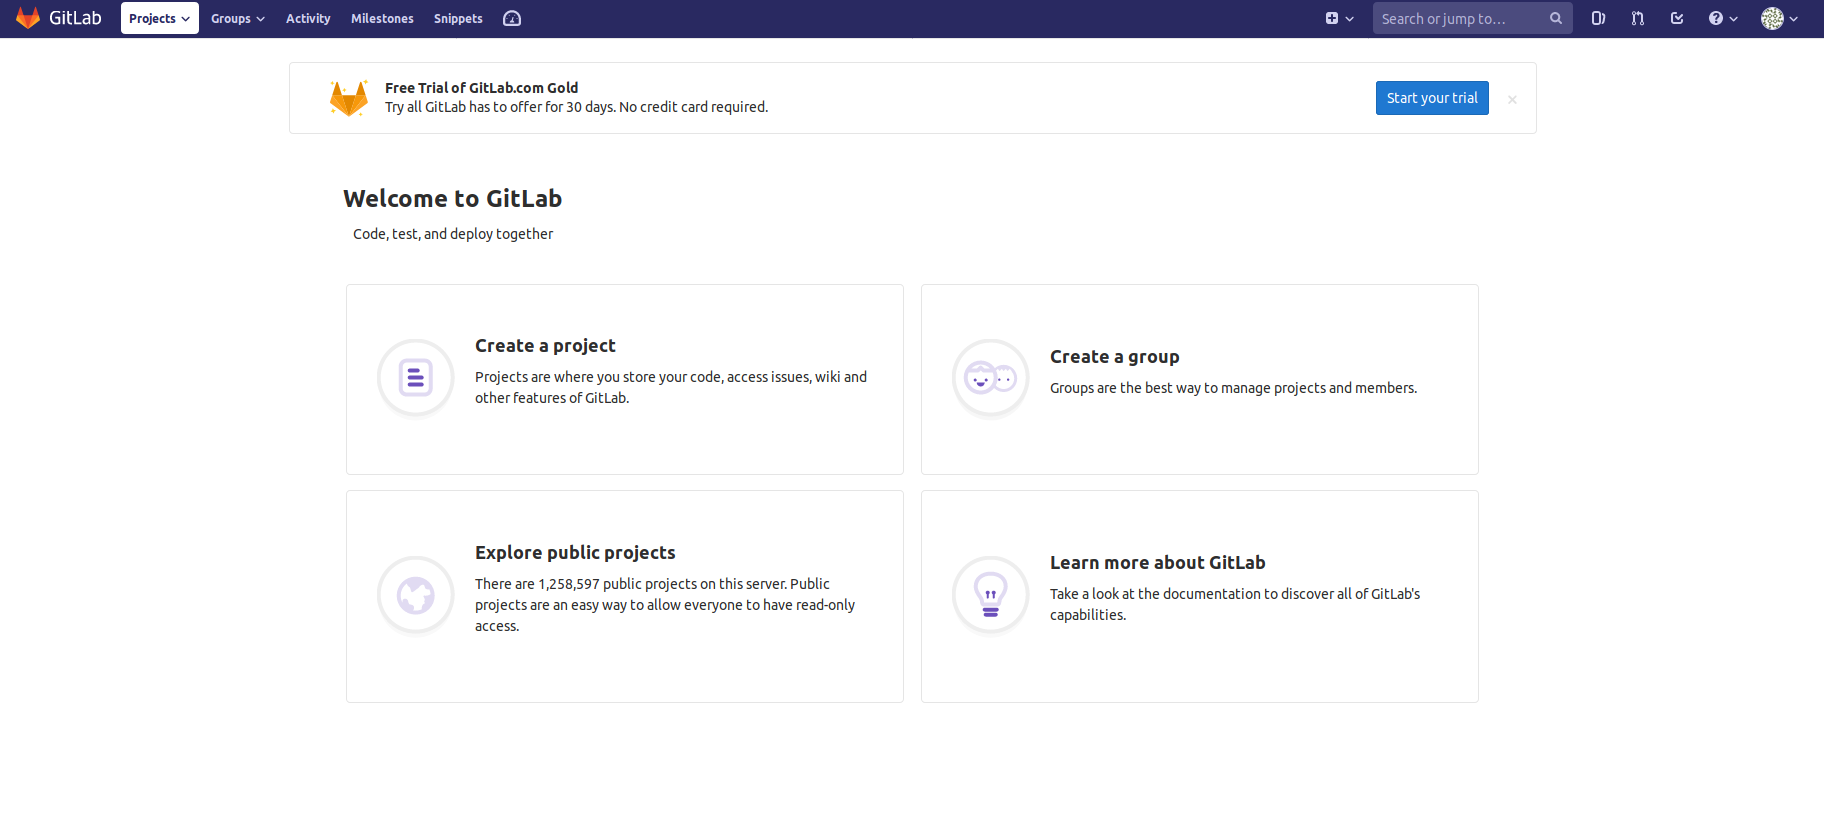
- If it is the first access, the following screen will be displayed because there is no project etc. Click “Create a group”.
- You can also create a project from scratch with “Create a project”. However, in this procedure, in order to make it easier to manage, we will create a remote repository that is hierarchically structured by namespace. Therefore, in this procedure, first create a group.
- If you have already created a project, skip this step.
Source : GitLab
- If it is the first access, skip this step.
- If you have already created a project, after accessing GitLab, click “Groups” and “Your groups” at the top of the screen. A list of groups will be displayed, so click “New group” at the top right of the screen.
- You can also create a project from scratch. However, in this procedure, in order to make it easier to manage, we will create a remote repository that is hierarchically structured by namespace. Therefore, in this procedure, first create a group.
Source : GitLab

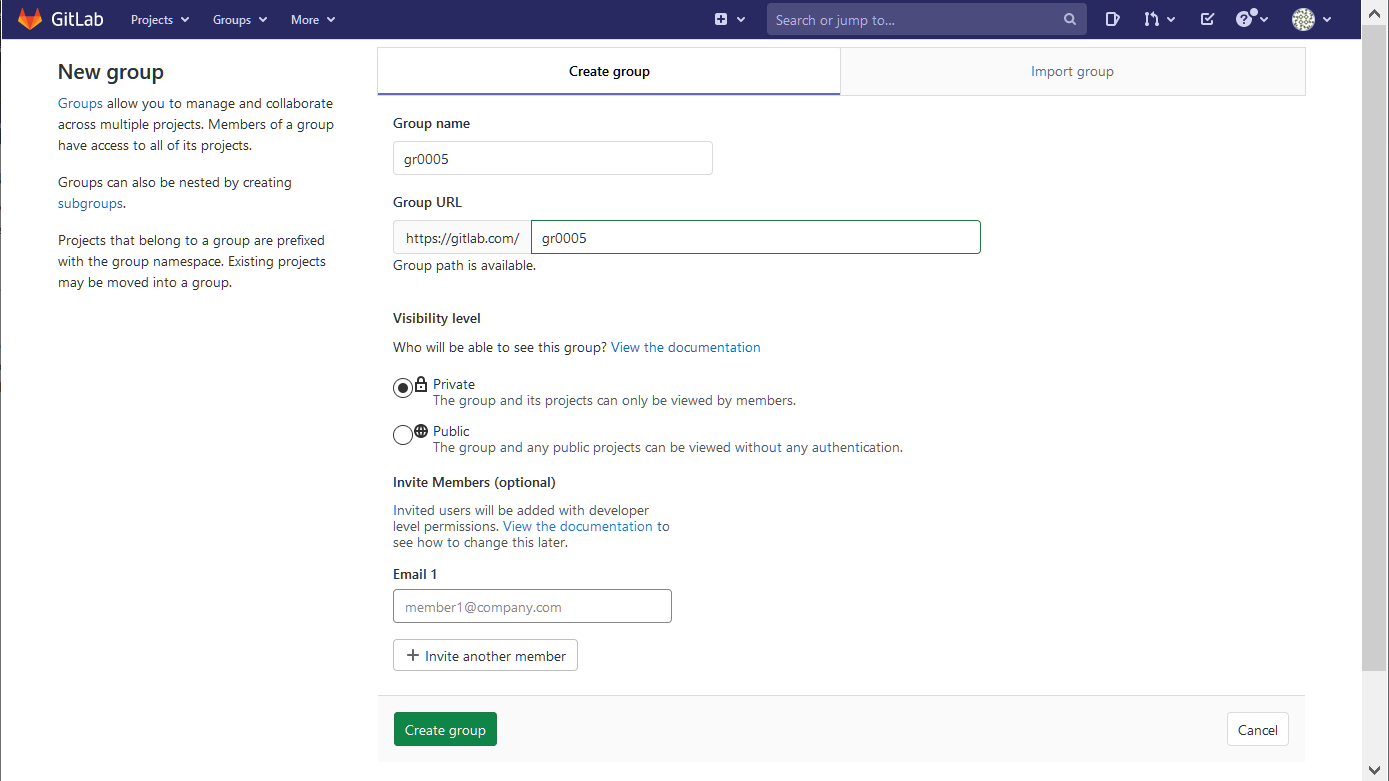
- The group creation screen is displayed.
Source : GitLab
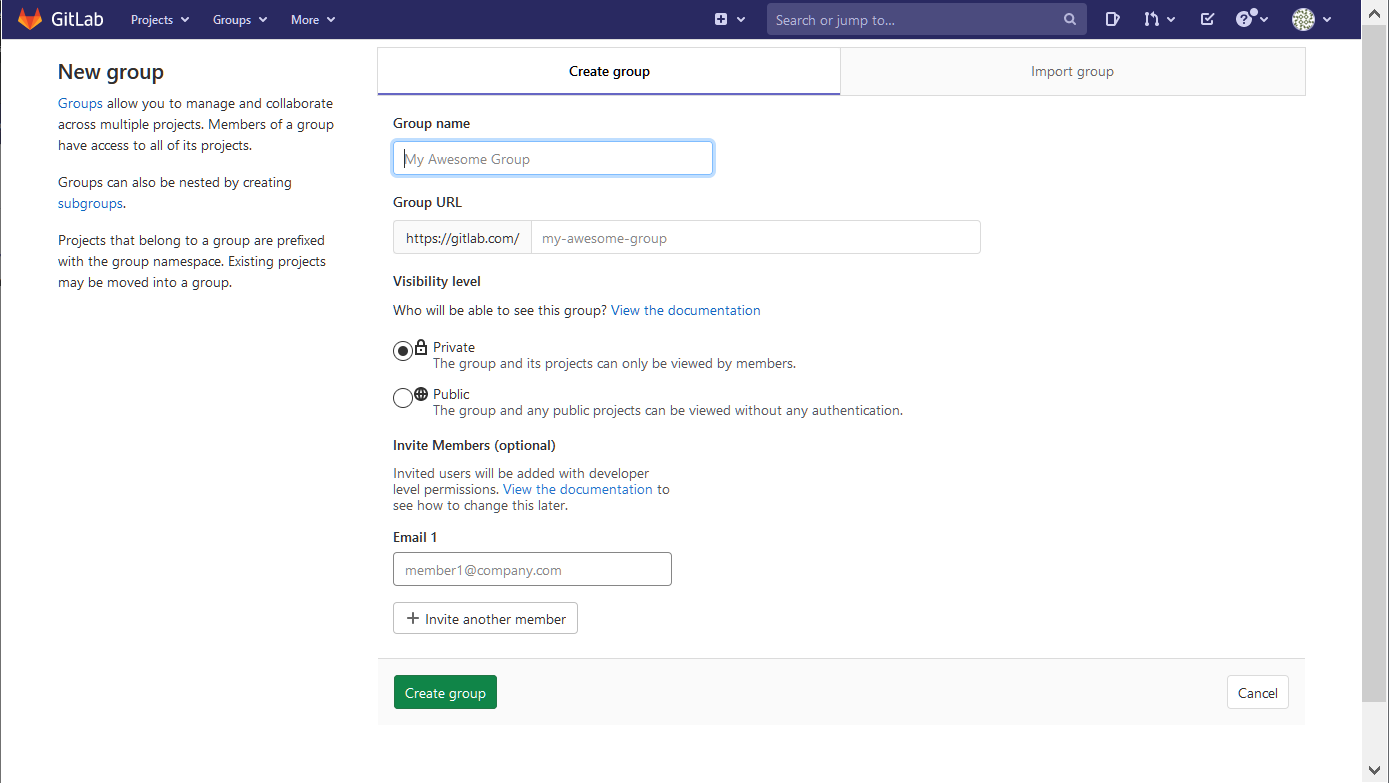
- Enter any name in “Group name” and “Group URL”. Use a name that is easy to manage.
- In the example below, it is “gr0005”.
- Set “Visibility level” to “private”.
- If this is set to “private”, only specific members can access it.
- If this is set to “public”, it will be published on the Internet.
- Click “Create group”.
Source : GitLab
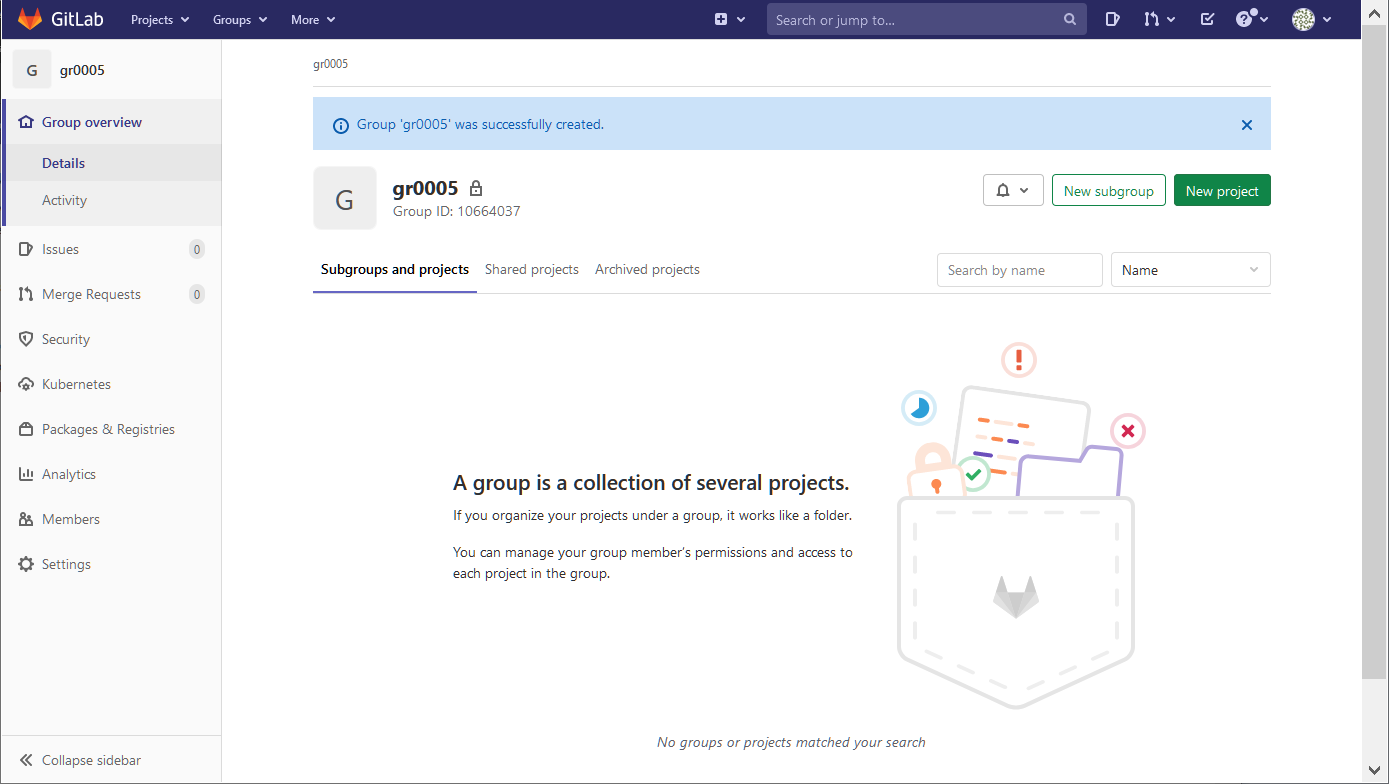
- The group is created and the following screen is displayed.
- To create the second layer as well, click “New subgroup” at the top right of the screen and create a subgroup as well.
Source : GitLab
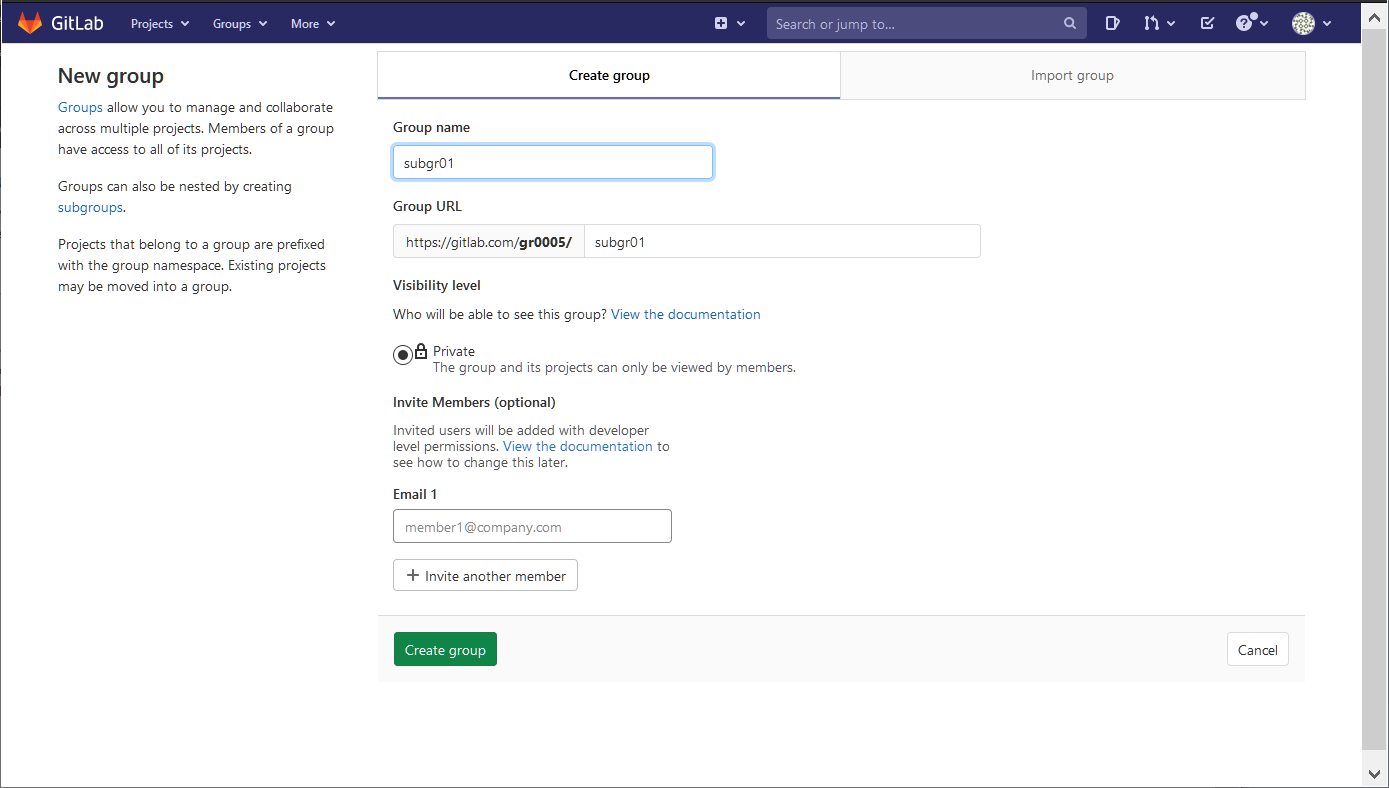
- The subgroup creation screen will be displayed, so make the same settings as when creating the group.
- Enter any name in “Group name” and “Group URL”. Use a name that is easy to manage.
- In the example below, it is “subgr01”.
- You can see that it is layered by URL.
- “Visibility level” is “private” because it is inherited from the higher group.
- Click “Create group”.
Source : GitLab
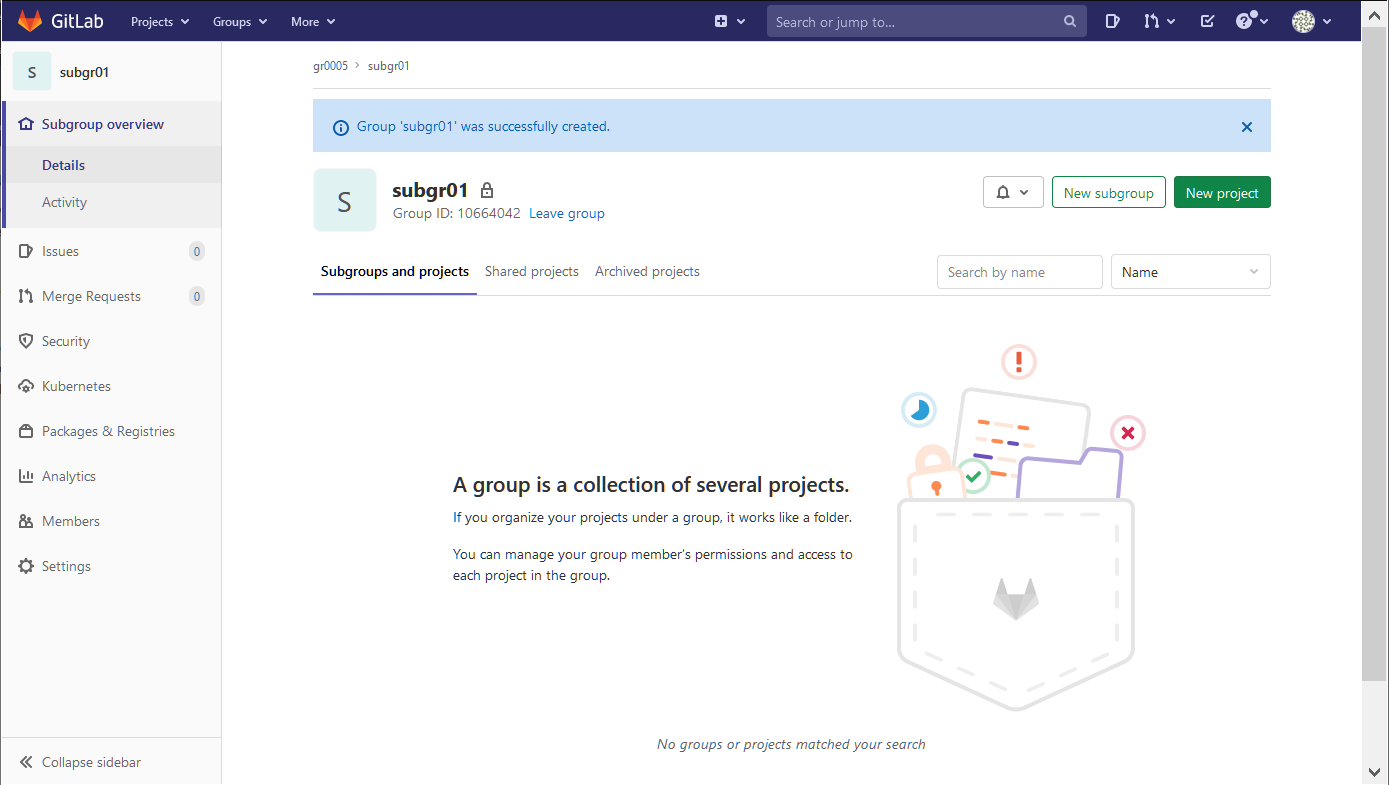
- The group is created and the following screen is displayed.
- Click “New project” at the top right of the screen to create a project in the third layer and set up a remote repository.
Source : GitLab
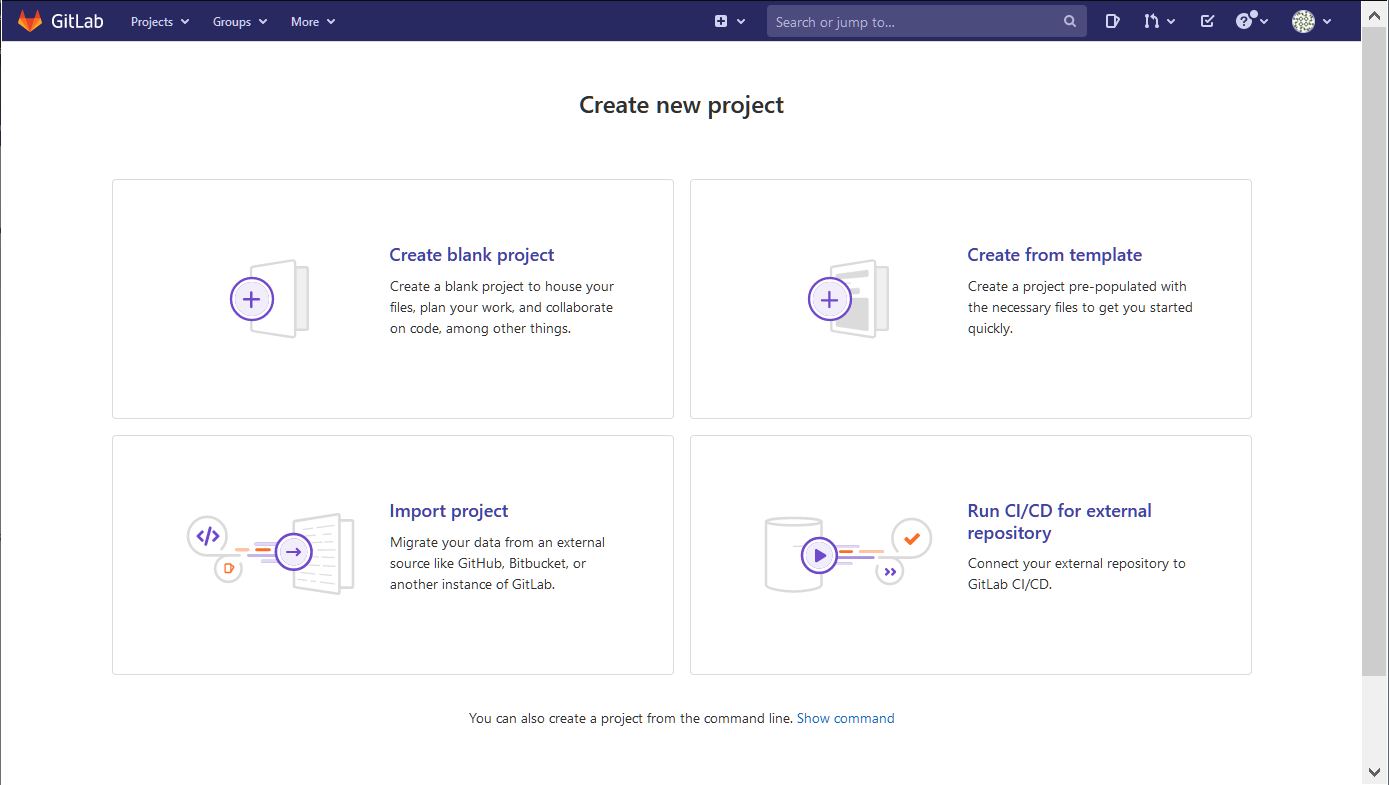
- The project creation screen is displayed.
- Click “Create blank project”.
Source : GitLab
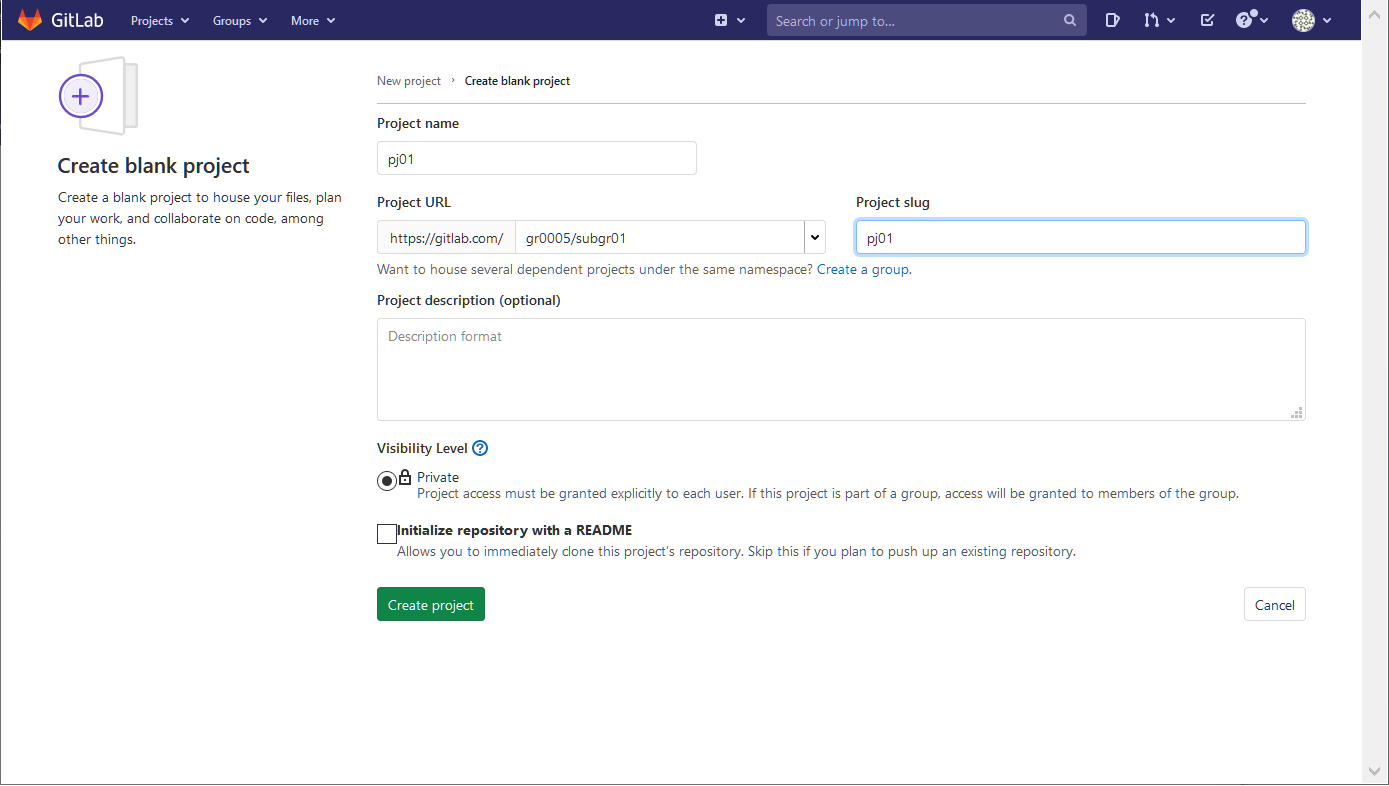
- The blank project creation screen is displayed.
- Enter any name in “Project name”. Use a name that is easy to manage.
- In the example below, it is “pj01”.
- Do not change “Project URL” because the group of the created hierarchy is selected.
- In the example below, it is “gr0005/subgr01”.
- Enter any name in “Project slug”. Use a name that is easy to manage.
- In the example below, it is “pj01”.
- “Visibility level” is “private” because it is inherited from the group.
- Select whether to create README.md by “Initialize repository with a README”. Turn it off in this procedure. It is also possible to create after creating the repository.
- Click “Create project”.
Source : GitLab
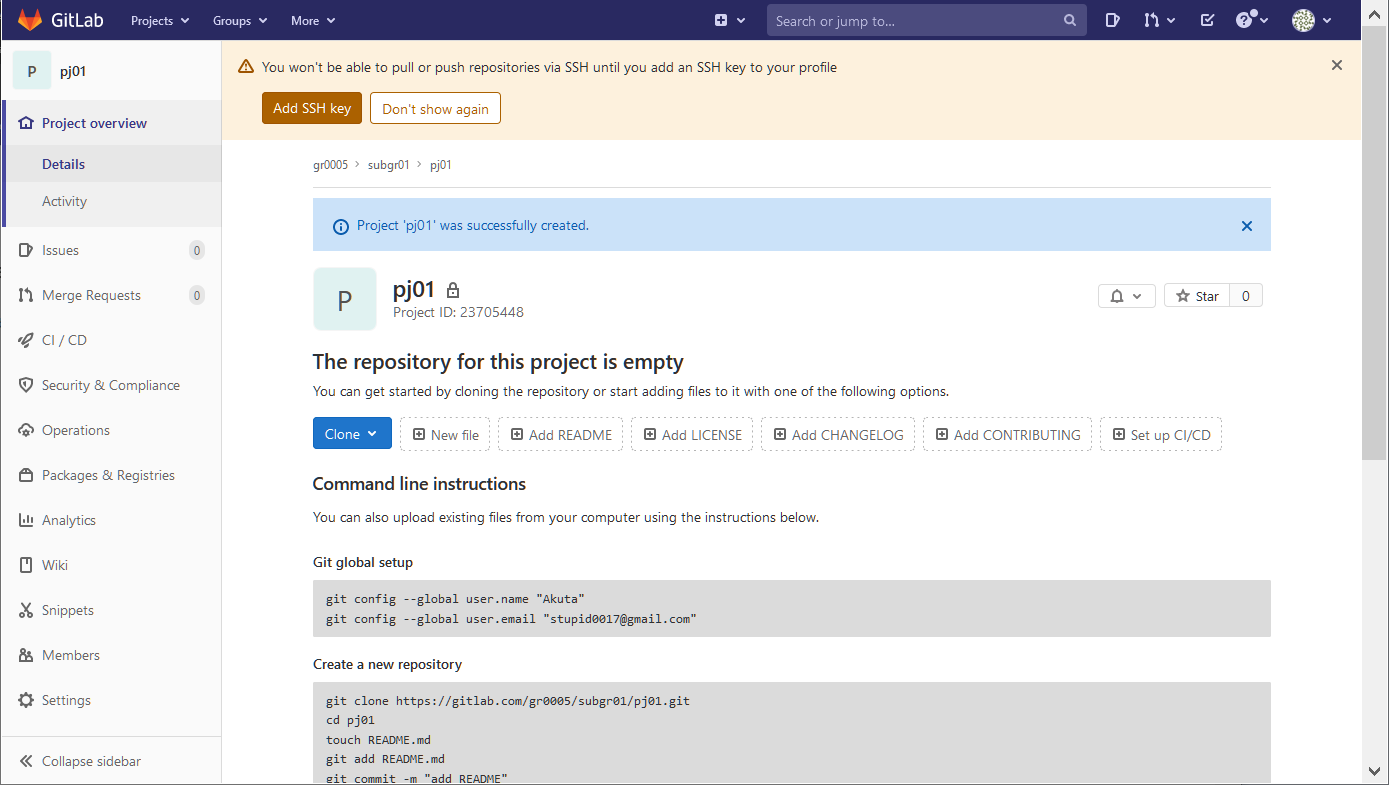
- The project is created and the following screen is displayed.
Source : GitLab
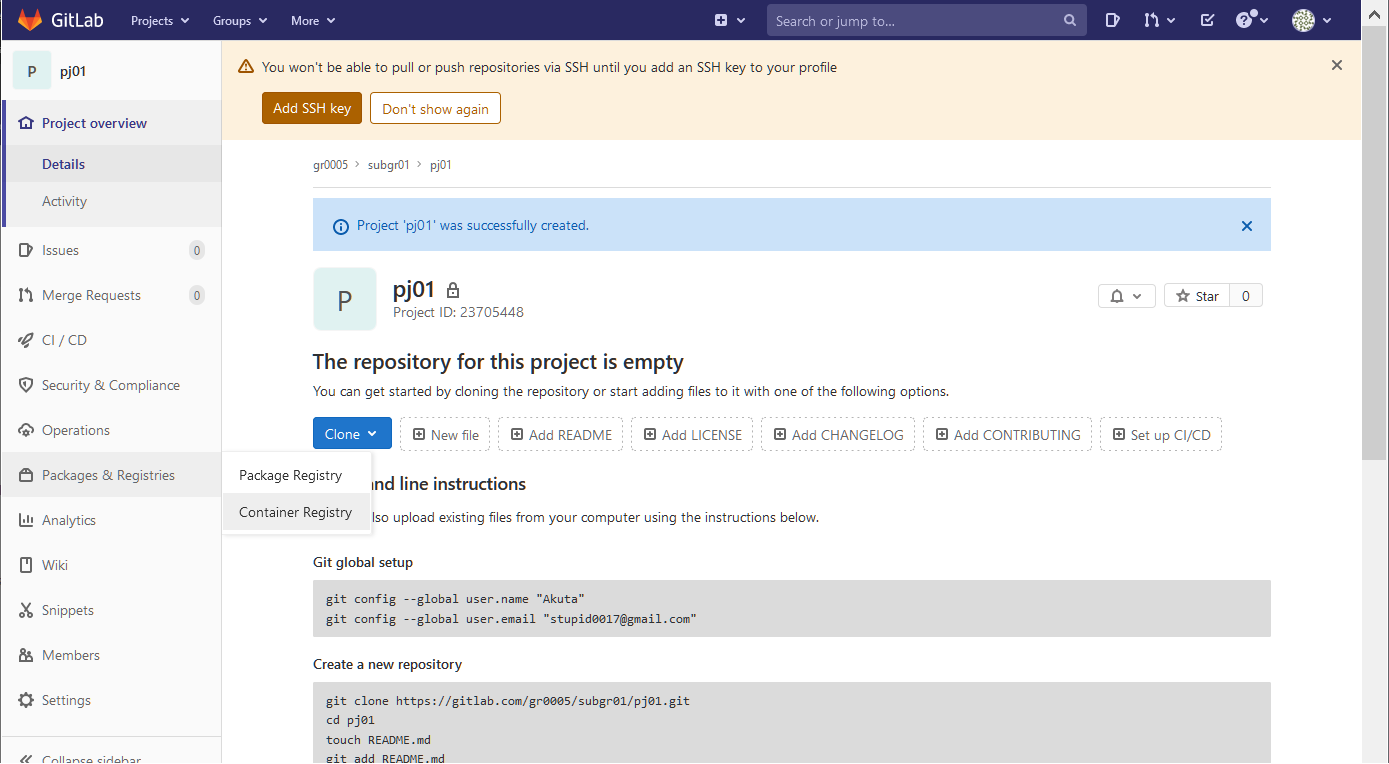
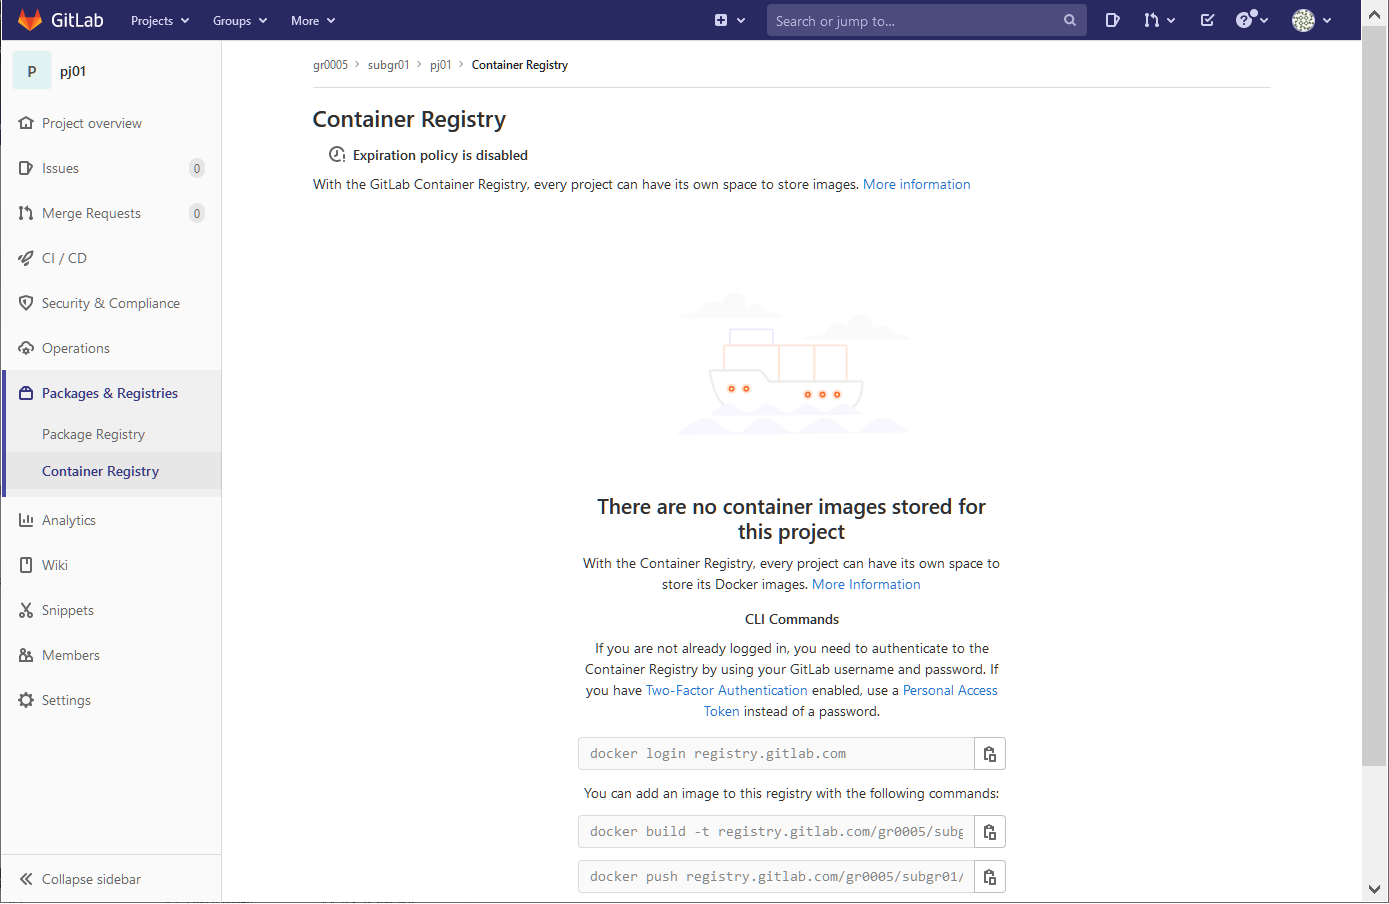
- Click “Packages & Registries” and “Container Registy” in the menu on the left side of the screen.
Source : GitLab
- The following screen will be displayed, and you can see that the registry and repository have been created. And they are available. However, the image is not actually stored yet.
- The commands for “docker login”, “docker build”, and “docker push” are displayed. Copy the commands if necessary.
Source : GitLab
The registry and repository are now available on GitLab.
Therefore, the settings on the GitLab side are complete. However, you will need to access GitLab again later to check it, so keep your web browser open.
How to upload a Docker image to GitLab
Perform the following procedure on the client using Docker.
- Check that the image to be uploaded exists.
$ docker images
REPOSITORY      	TAG             	IMAGE ID        	CREATED         	SIZE
subgr01/pj01              	latest          	xxxxxxxxxxxx    	46 hours ago    	1.77GB
- Log in to GitLab’s Docker container registry.
$ docker login registry.gitlab.com
- Tag the target image for uploading to the Docker container registry.
- In the example below, the target image is a locally existing image with namespace “subgr01”, repository “pj01”, and tag “latest”. Tag the image with the registry “registry.gitlab.com” namespace “gr0005 / subgr01” repository “pj01” tag “0.1”.
- Tagging does not increase the image of the entity, but leaves both the original tag and the new tag. Therefore, if you check with “docker images”, both tags will be displayed for the same image.
$ docker tag subgr01/pj01:latest registry.gitlab.com/gr0005/subgr01/pj01:0.1
- Upload the target image to GitLab.
- In the example below, the image is uploaded according to the attached tag.
- In the example below, the image is uploaded according to the attached tag.
$ docker push registry.gitlab.com/gr0005/subgr01/pj01:0.1
This completes the image upload to GitLab.
Check that it has been uploaded on GitLab side.
- In GitLab, if you update the “Packages & Registries”-“Container Registy” screen, the following screen will be displayed. You can check that the uploaded image exists.
Source : GitLab

Related Docker commands
- The command to create a Docker image for upload from a Docker container is the following command.
- Execute this command in the directory where the Dockerfile exists.
$ docker build -t registry.gitlab.com/gr0005/subgr01/pj01:0.1 .
- The command to get the Docker image from GitLab to the client is the following command.
$ docker pull registry.gitlab.com/gr0005/subgr01/pj01:0.1
- See below for other commands.