
Google Cloud Platform (GCP) にてGitを利用したい場合、GCP提供のGitリモートリポジトリとして Cloud Source Repositories (CSR) がある。
本ナレッジではその始め方、使い方を記載する。
Sponsored Links
Cloud Source Repositories (CSR) の無料枠
CSRは利用したストレージ容量、アクセスユーザ数、ネットワーク量に応じた従量課金となる。
一方で、CSRをまずは試してみたい場合や、軽量な使い方をする場合は、ある程度無料で利用できる。
無料枠の条件は以下に記載されている。
条件をまとめると以下となる。
- ユーザ数: 1請求先アカウントあたり、最大5名のプロジェクトユーザー
- ストレージ: 月50GBまで
- ネットワーク量: 下り (外向き) 月50GBまで
Cloud Source Repositories (GCP CSR) の始め方・使い方
Cloud Source Repositories (CSR) のリポジトリ作成方法
CSRのリポジトリ作成手順を記載する。
- 以下のURLにアクセスし、GCPへログイン。
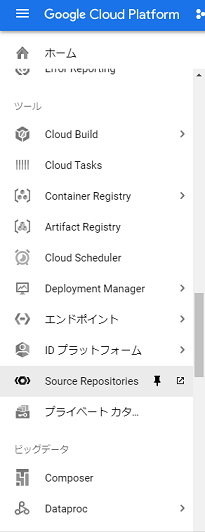
- ポータルサイトの左メニュー内の ”ツール” 項目の “Source Repositories” をクリック。
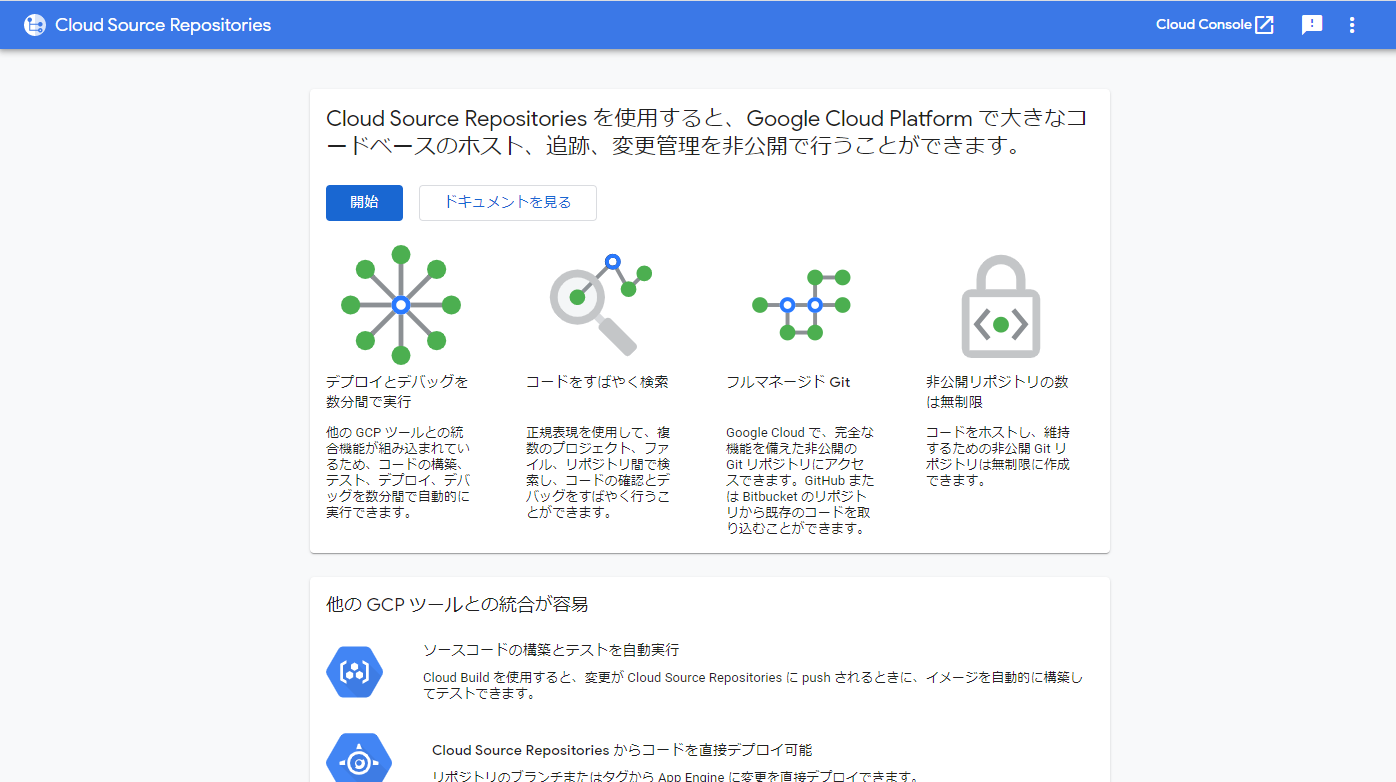
Google and Google Cloud Platform™ are trademarks of Google LLC and this website is not endorsed by or affiliated with Google in any way. - CSRの初回アクセス時、以下の画面が表示されるので、 “開始” をクリック。
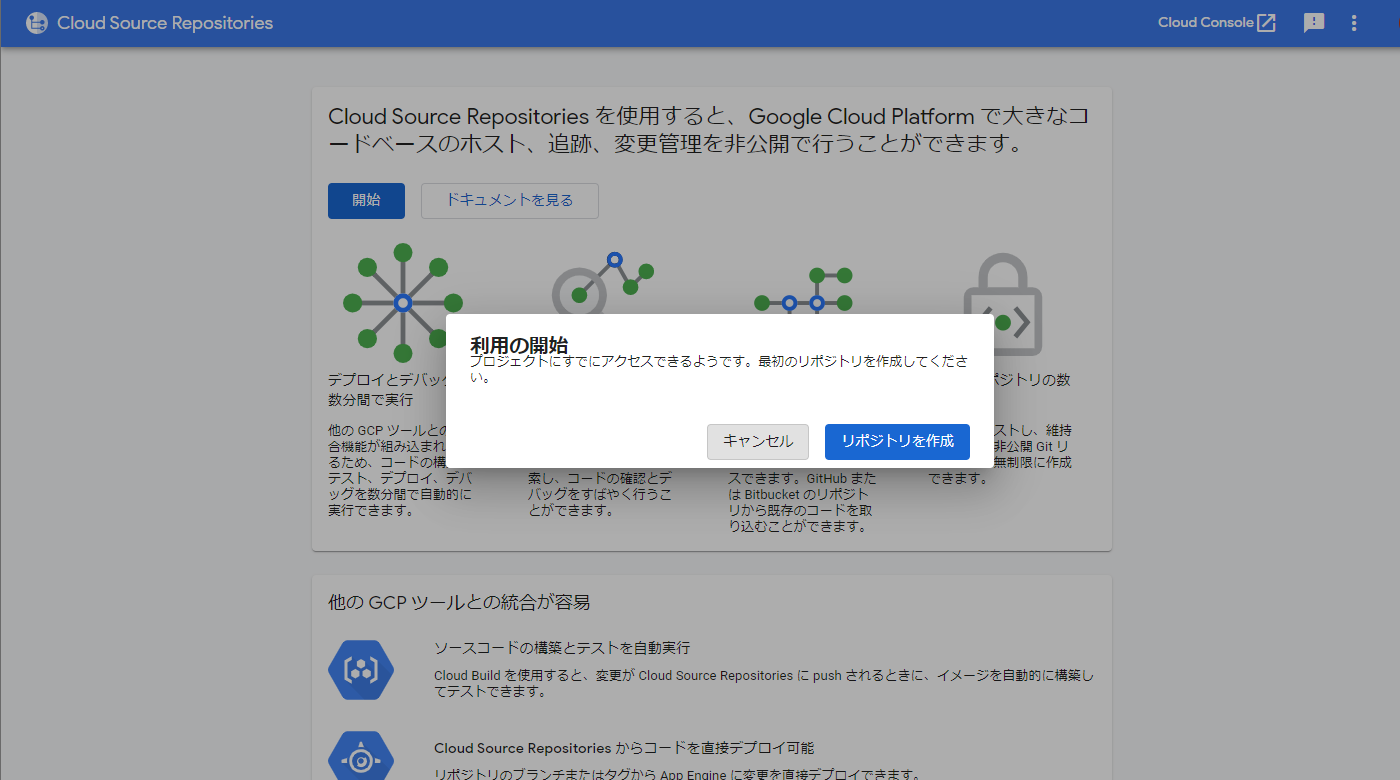
Google and Google Cloud Platform™ are trademarks of Google LLC and this website is not endorsed by or affiliated with Google in any way. - “利用の開始” ポップアップが表示されるので、 “リポジトリを作成” をクリック。
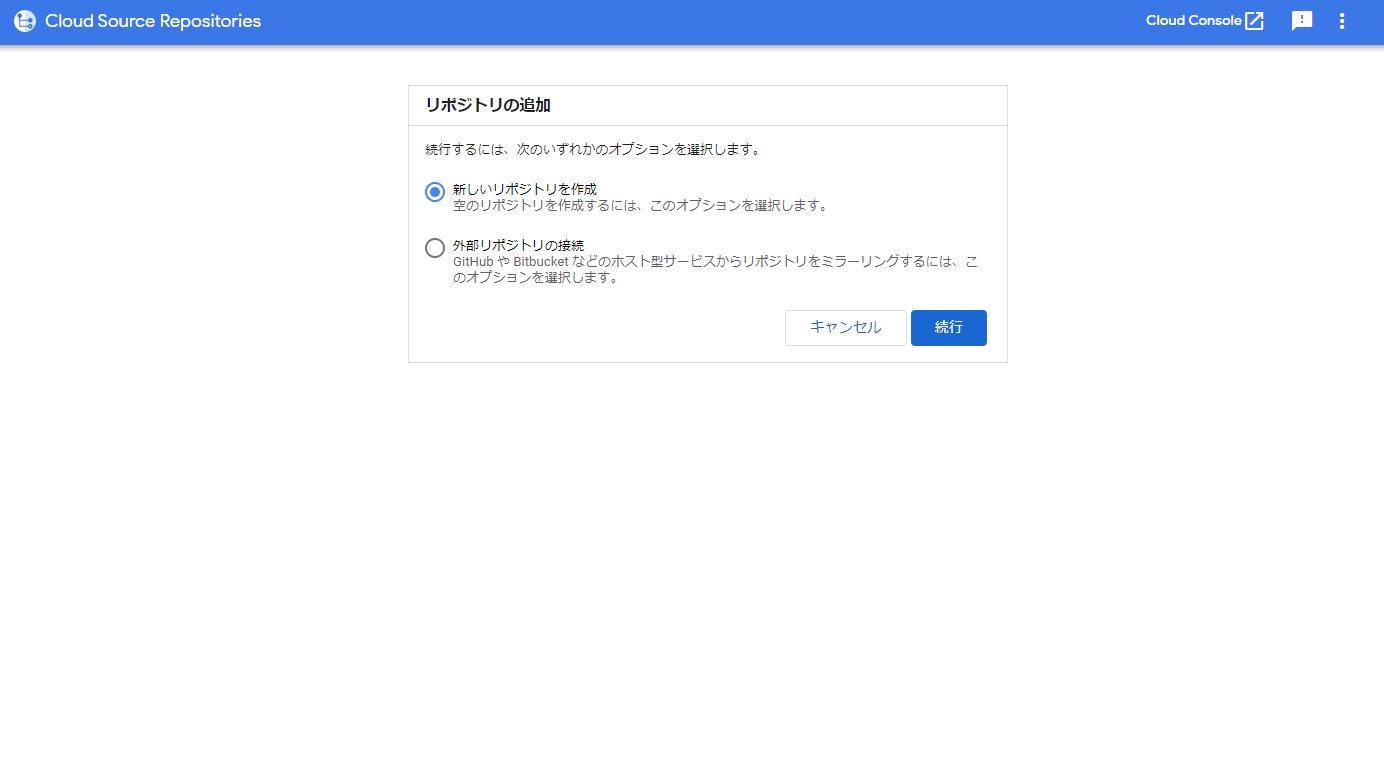
Google and Google Cloud Platform™ are trademarks of Google LLC and this website is not endorsed by or affiliated with Google in any way. - “リポジトリの追加” 画面が表示されるので、 “新しいリポジトリを作成” を選択し、 “続行” をクリック。
Google and Google Cloud Platform™ are trademarks of Google LLC and this website is not endorsed by or affiliated with Google in any way. - “リポジトリ名” を入力。
- “プロジェクト” を選択。
- プロジェクトが未作成の場合は以下を参照の上作成。
- “作成” をクリック。

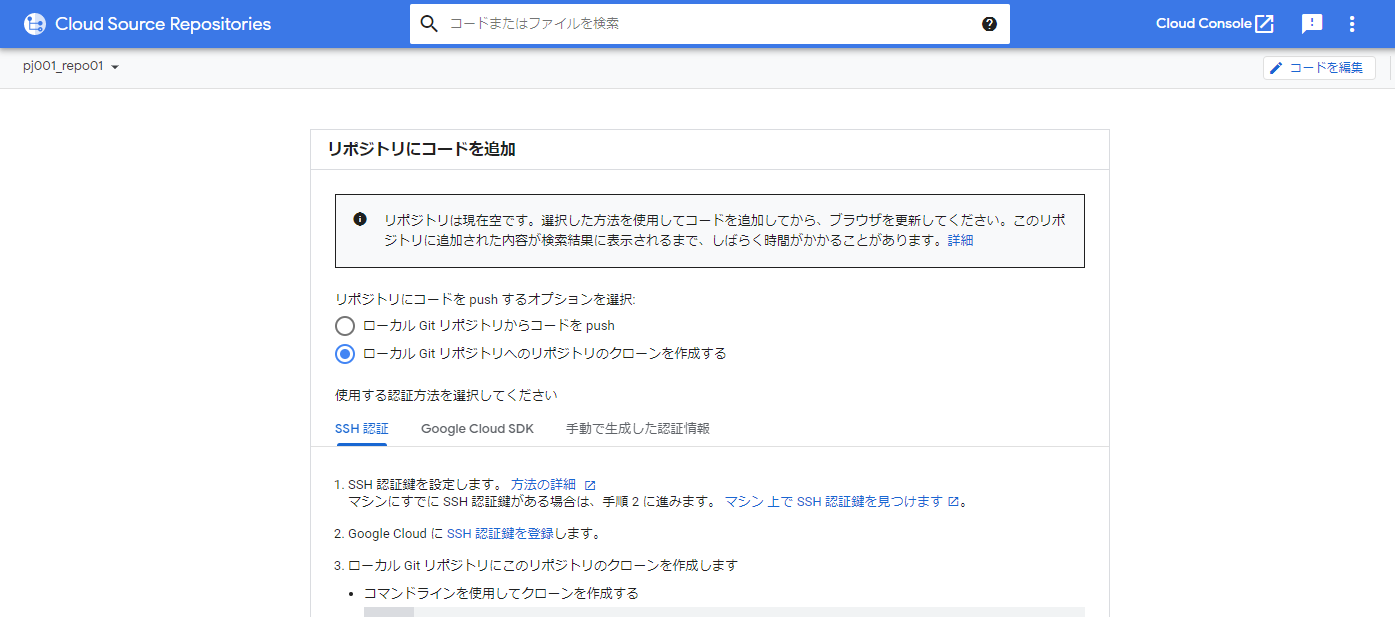
Google and Google Cloud Platform™ are trademarks of Google LLC and this website is not endorsed by or affiliated with Google in any way. - リポジトリが作成され、以下の画面が表示される。
- “ローカル Git リポジトリへのリポジトリのクローンを作成する” を選択。
- 後ほど利用するため、 “SSH認証” タブの 3ステップ目のクローン用のコマンドをコピーしておく。
Google and Google Cloud Platform™ are trademarks of Google LLC and this website is not endorsed by or affiliated with Google in any way.
以上でリポジトリの作成は完了となる。
本リモートリポジトリとローカルリポジトリを連携するためには、画面に表示させているようにSSH鍵が必要となる。そのため続けてSSH鍵を生成手順を記載する。
また、先ほどまで操作したGCPの画面については後ほど再度操作をするため、Webブラウザはそのままにしておく。
SSH鍵の生成
SSH鍵生成方法の例として、Linuxを利用した手順を記載する。
- RSA形式、2048bitの鍵を生成。
- 以下の例では、-Cオプションにより鍵ファイル内のコメントフィールドにメールアドレス “user@example.com” 設定している。一般的には、どのような用途であるのかや誰の鍵であるかを識別するために利用するため、メールアドレスなどを設定するのが一般的であるが、任意のコメントで問題ない。
- コマンド実行後、鍵の保存ディレクトリ・ファイル名と、パスフレーズの入力が求められるので適宜任意の設定を実施。
- 以下の例では、-Cオプションにより鍵ファイル内のコメントフィールドにメールアドレス “user@example.com” 設定している。一般的には、どのような用途であるのかや誰の鍵であるかを識別するために利用するため、メールアドレスなどを設定するのが一般的であるが、任意のコメントで問題ない。
$ ssh-keygen -t rsa -C "user@example.com"

Generating public/private rsa key pair.
Enter file in which to save the key (/home/xxxx/.ssh/id_rsa): /home/xxxx/id_rsa
Enter passphrase (empty for no passphrase):
Enter same passphrase again:
- SSH鍵として、公開鍵 (id_rsa.pub) と秘密鍵 (id_rsa) が生成されていることを確認する。
$ ls
id_rsa  id_rsa.pub
- 公開鍵 (id_rsa.pub) の中身を表示。後ほどGCP側に登録するので、ファイルの中身をコピーしておく。
$ cat ~/id_rsa.pub

ssh-rsa AAAAB ~~~~~~
Cloud Source Repositories (CSR) へのSSH鍵の登録
続いて、生成したSSH鍵の公開鍵をGCPのCSRに登録する。
- GCP上のCSRの画面に戻る。
- “ローカル Git リポジトリへのリポジトリのクローンを作成する” を選択。
- “SSH認証” タブの 2ステップ目の “SSH認証鍵を登録” をクリック。
Google and Google Cloud Platform™ are trademarks of Google LLC and this website is not endorsed by or affiliated with Google in any way.
- SSH認証鍵の登録画面が表示される。
- 任意のキー名を入力。
- 鍵の欄には先ほど作成した公開鍵 (id_rsa.pub) の中身 (おそらく、文頭がssh-rsa のもの) を入力する。
- “登録” をクリック。

Google and Google Cloud Platform™ are trademarks of Google LLC and this website is not endorsed by or affiliated with Google in any way. - “SSH認証鍵の管理” 画面が表示され、鍵が登録されたことが確認できる。
- 画面左上の “<-” をクリック。

Google and Google Cloud Platform™ are trademarks of Google LLC and this website is not endorsed by or affiliated with Google in any way. - 以下の画面が表示されることを確認。
- 後ほど再度本ページにアクセスするため、Webブラウザはそのままにしておく。
Google and Google Cloud Platform™ are trademarks of Google LLC and this website is not endorsed by or affiliated with Google in any way.
以上にて、リモートリポジトリの利用準備が完了となる。
リモートリポジトリとローカルリポジトリの連携
ローカル環境にて、リモートリポジトリとローカルリポジトリを連携を確認する。
- “git commit” にて、リモートリポジトリをローカルリポジトリへ複製。
- 先ほどコピーしたリポジトリのクローン用コマンドを利用。
- “git add” にて、ワークツリーからインデックスに変更内容を登録 。
- “git commit” にて、インデックスからローカルリポジトリへコミット。
- “git push” にて、ローカルリポジトリからリモートリポジトリへアップロード。
これらの具体的な手順は以下に記載している。参照の上実施。
上記を実施後、GCPのCSPの画面にて更新した内容が連携されていることを確認する。
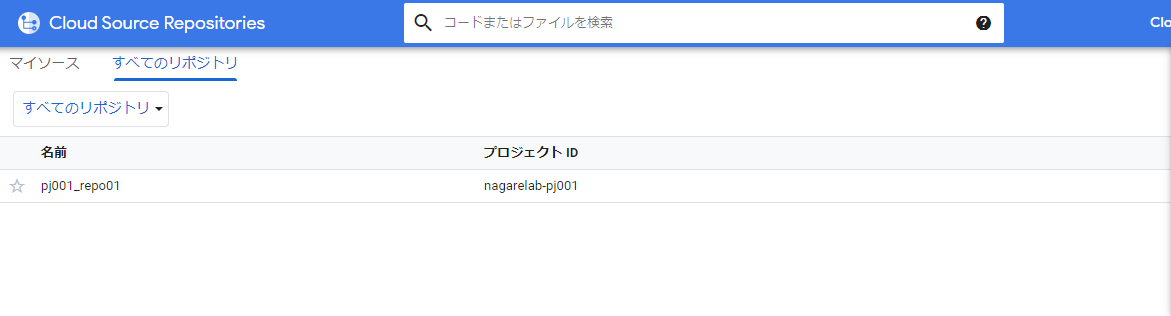
- GCPのCSR画面に再度アクセスする。
- リポジトリ名をクリック。
Google and Google Cloud Platform™ are trademarks of Google LLC and this website is not endorsed by or affiliated with Google in any way.
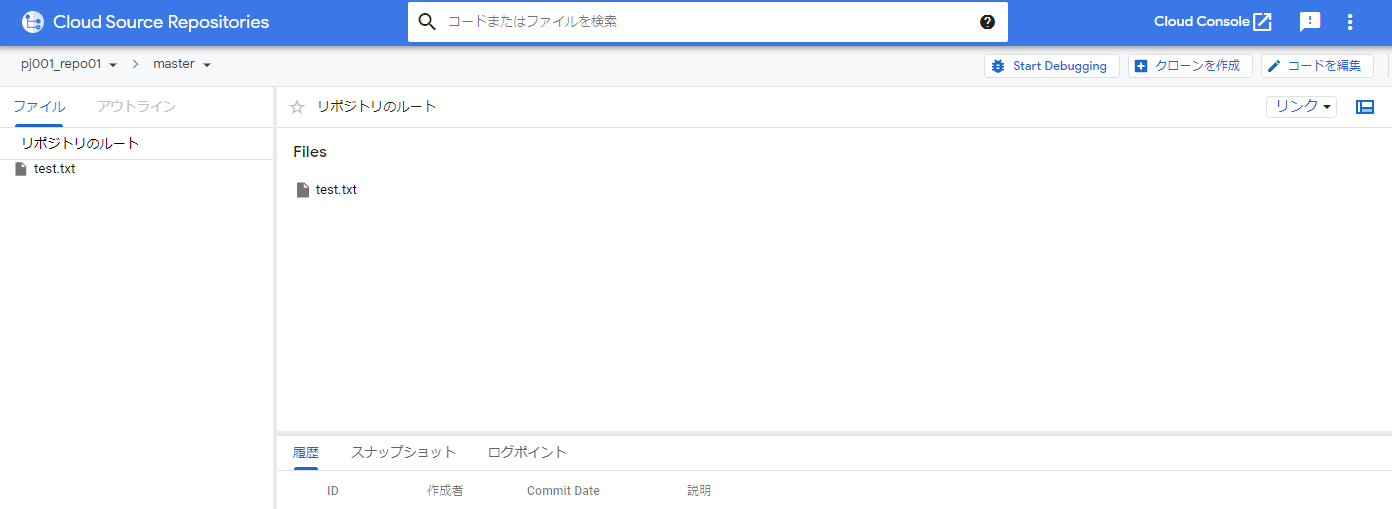
- 更新された内容が同期されて、リモートリポジトリ側にも反映されていることが確認できる。
Google and Google Cloud Platform™ are trademarks of Google LLC and this website is not endorsed by or affiliated with Google in any way.
以上にて、完了となる。
Sponsored Links